Need some ideas for teaching heat transfer? There are lot's of hands-on ways to teach convection, radiation and conduction!

The Dancing Quarter:
Convection Experiment
Materials:
•
glass (empty) soda bottles
•
oil
•
quarters
•
hot water
Step 1: Have students put a dab of oil on side of the
quarter. You may need to help if it i
s a large container of oil.
s a large container of oil.
Step 2: Place the glass bottle into the bowl.
Step 3: Have the student place the quarter on top of the
glass soda bottle, with the oil side facing down. (The oil acts as a sealant
and keeps the air trapped inside the bottle).
Step 4: Tell the students to observe the quarter while you
pour hot water (near boiling) into the bowl.
The quarter should move around on top of the bottle. This is best used as inquiry! I asked my
students questions like: What do you see the quarter doing? How is that
happening? Explain what heat process is taking place? I also like to extend and
ask if any heat transfer process are taking place, other than convection. Help them discover that conduction is also
being used in this experiment.
Teacher
Tip: This
experiment was originally called “The Dancing Penny” when I found it. I quickly
discovered the most soda bottles had to big of an opening and pennies would
just fall inside the bottle. So I
recommend using a quarter. Also the
initial experiment asks students to warm up the bottle with their hands. This doesn’t give as obvious of a result so I
adapted and chose to use hot water in the bowl so that students could see
results immediately. I also highly recommend that you test this out on your own
before you do it in the class so that you know how to make it work!
This is a great hands-on experiment that show convection currents. Great for heat transfer and for weather lessons. Available with follow up pages in my Heat Transfer Unit, Heat Transfer Complete Unit


Here is another way to see how heat rises. Attach paper towel strips to a heated oven and then open the oven door.

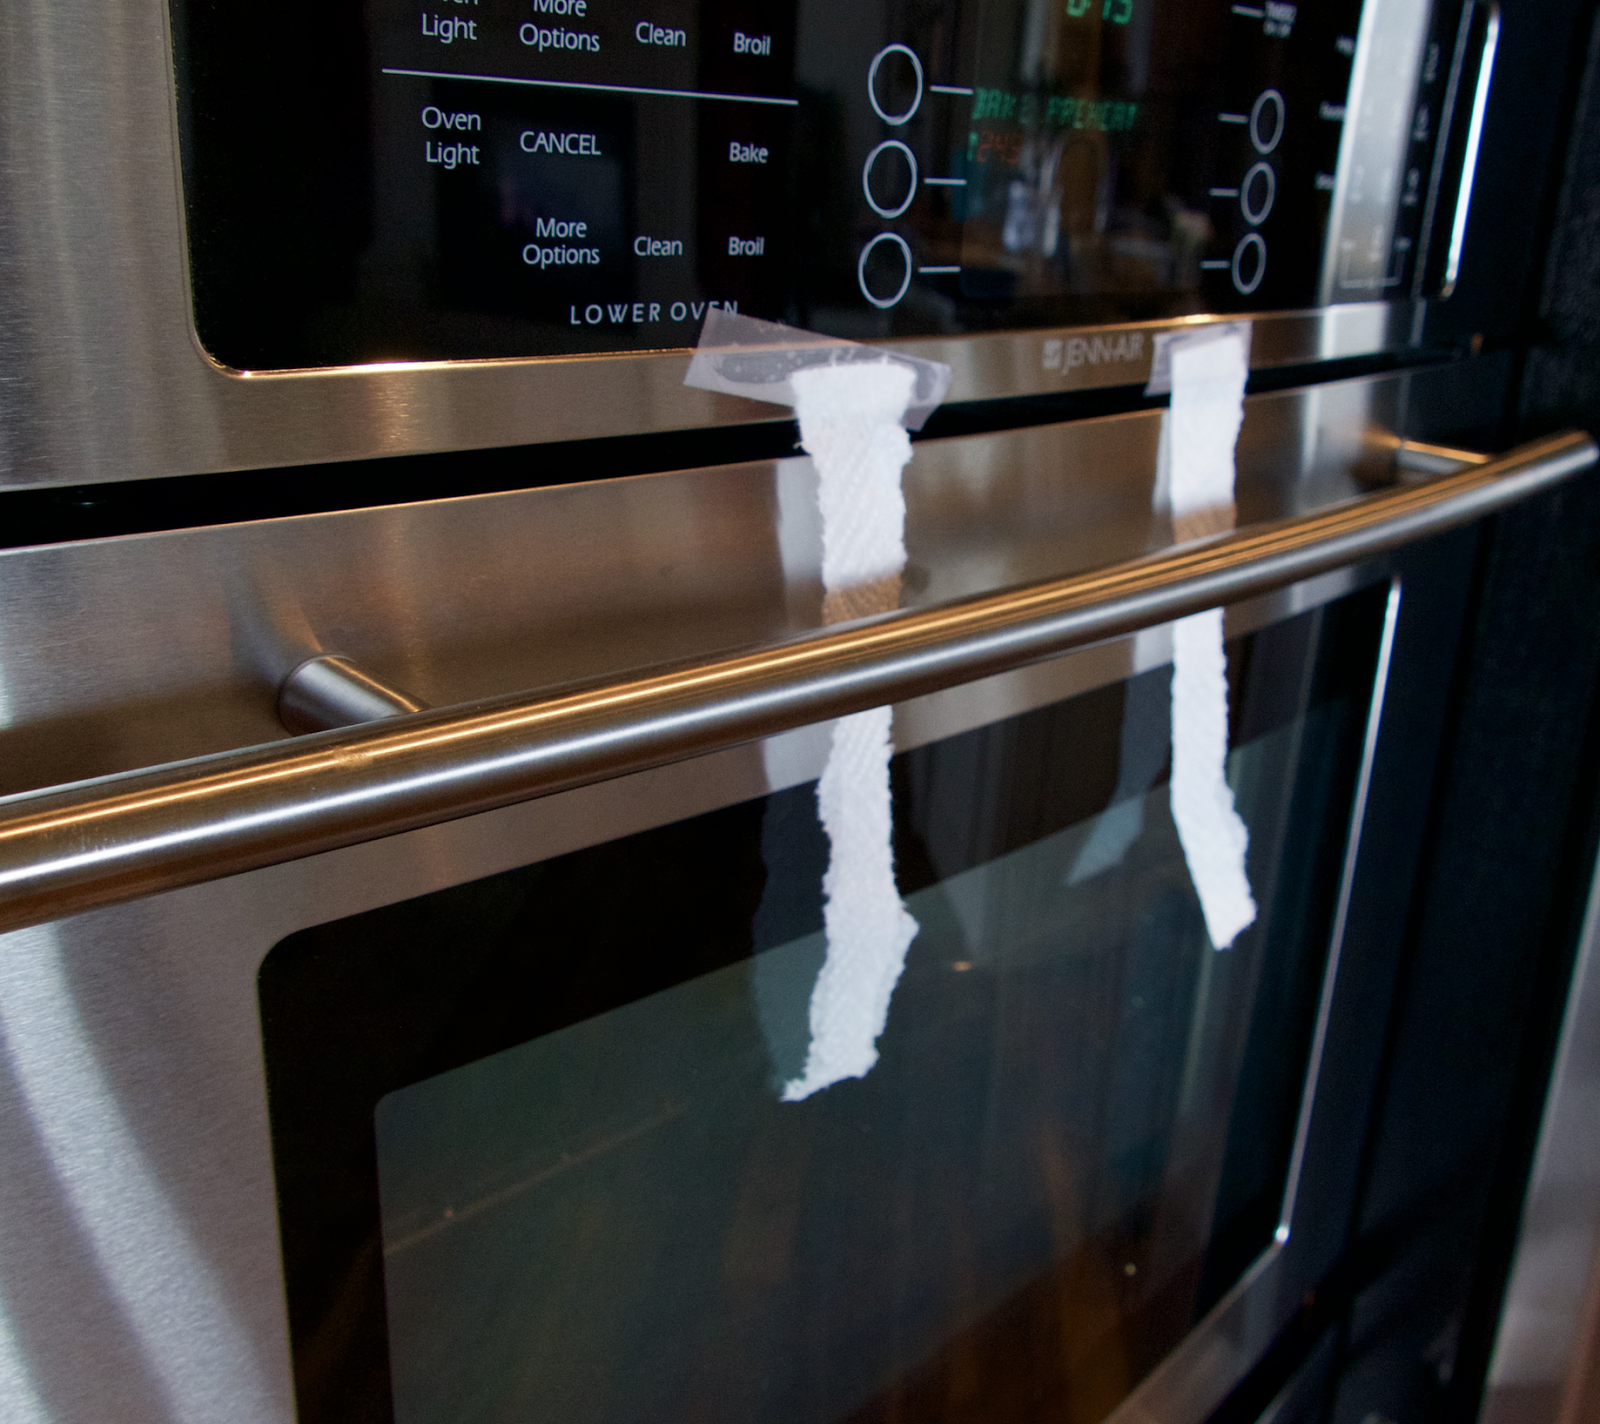
In the classroom this can be done with a toaster oven.

Materials:
•
Popcorn (Unpopped)
•
Microwave
•
Individual cups for each student (solo cups)
This experiment is very simple! Place the popcorn in the
microwave and ask them to observe and collaborate with one another to decide
what heat transfer process is taking place. Its a simple way to show everyday
use of radiation and gives them a tasty treat!
The Ice Melt: Conduction
Experiment

Materials:
•
Ice cubes (one for each student)
•
Ziploc bags
Step 1: Have each student take a Ziploc bag and an ice
cube. Ask them to put he ice in their bag and seal it tightly.
Step 2: Tell the students that the objective is to melt their
ice cube as fast as they can. They are
only allowed to use their body as a heat source, nothing more. On your mark,
get set, GO!
Step 3: After
someone has melted their ice completely, discuss why their ice melted faster
than everyone else’s. What method did they use? How did that create more
heat? What heat process was everyone
using in order to melt their ice?
The kids love this mini competition and are very engaged! Great
way to show them a simple form of conduction!
Before we did all these centers, we had students create a simple
three flap foldable that had the definitions of conduction, convection and
radiation so they could refer to them during the experiments. We also had them write their findings and
examples of each heat transfer on the other side of the flaps. At the end, they
glued it into their interactive science notebooks!

Hopefully this information was useful! These centers are pretty
easy to prepare but they are very engaging for students! Thats a win in any
teacher’s world! Thanks for reading!
For more activities and all the followup pages and interactive notebook folds see my complete unit.
For more activities and all the followup pages and interactive notebook folds see my complete unit.

You may also like Templates for Interactive Notebooks